|
|
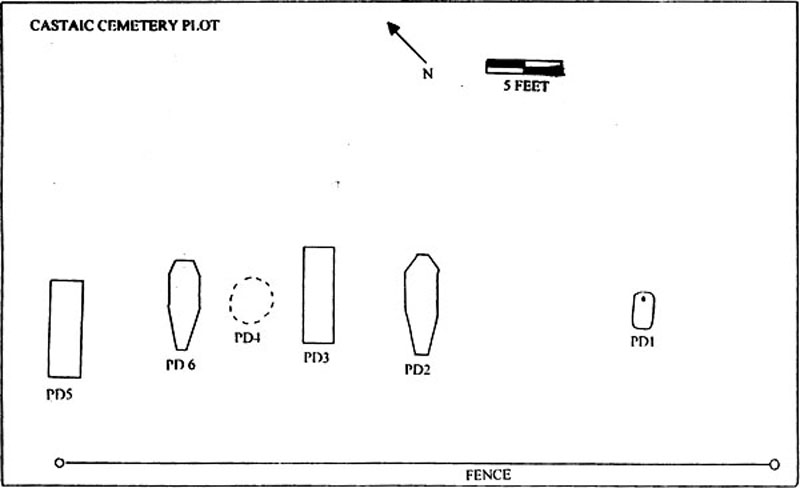
Archaeological Recovery of Historic Graves, Castaic
Return to archaeological report.
|
SEE ALSO: • Human Remains Encountered During Construction Genstar-Northlake Archaeological Report 
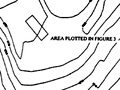
Fig. 1: Locator Map
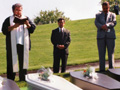
Reburial Story |
[ RETURN TO TOP ]
[ RETURN TO MAIN INDEX ]
[ PHOTO CREDITS ]
[ BIBLIOGRAPHY ]
[ BOOKS FOR SALE ]
SCVHistory.com is another service of SCVTV, a 501c3 Nonprofit • Site contents ©SCVTV
The site owner makes no assertions as to ownership of any original copyrights to digitized images. However, these images are intended for Personal or Research use only. Any other kind of use, including but not limited to commercial or scholarly publication in any medium or format, public exhibition, or use online or in a web site, may be subject to additional restrictions including but not limited to the copyrights held by parties other than the site owner. USERS ARE SOLELY RESPONSIBLE for determining the existence of such rights and for obtaining any permissions and/or paying associated fees necessary for the proposed use.
The site owner makes no assertions as to ownership of any original copyrights to digitized images. However, these images are intended for Personal or Research use only. Any other kind of use, including but not limited to commercial or scholarly publication in any medium or format, public exhibition, or use online or in a web site, may be subject to additional restrictions including but not limited to the copyrights held by parties other than the site owner. USERS ARE SOLELY RESPONSIBLE for determining the existence of such rights and for obtaining any permissions and/or paying associated fees necessary for the proposed use.
